Cricut
DIY Grinch Glass Jar: A Festive Cricut Craft Adventure
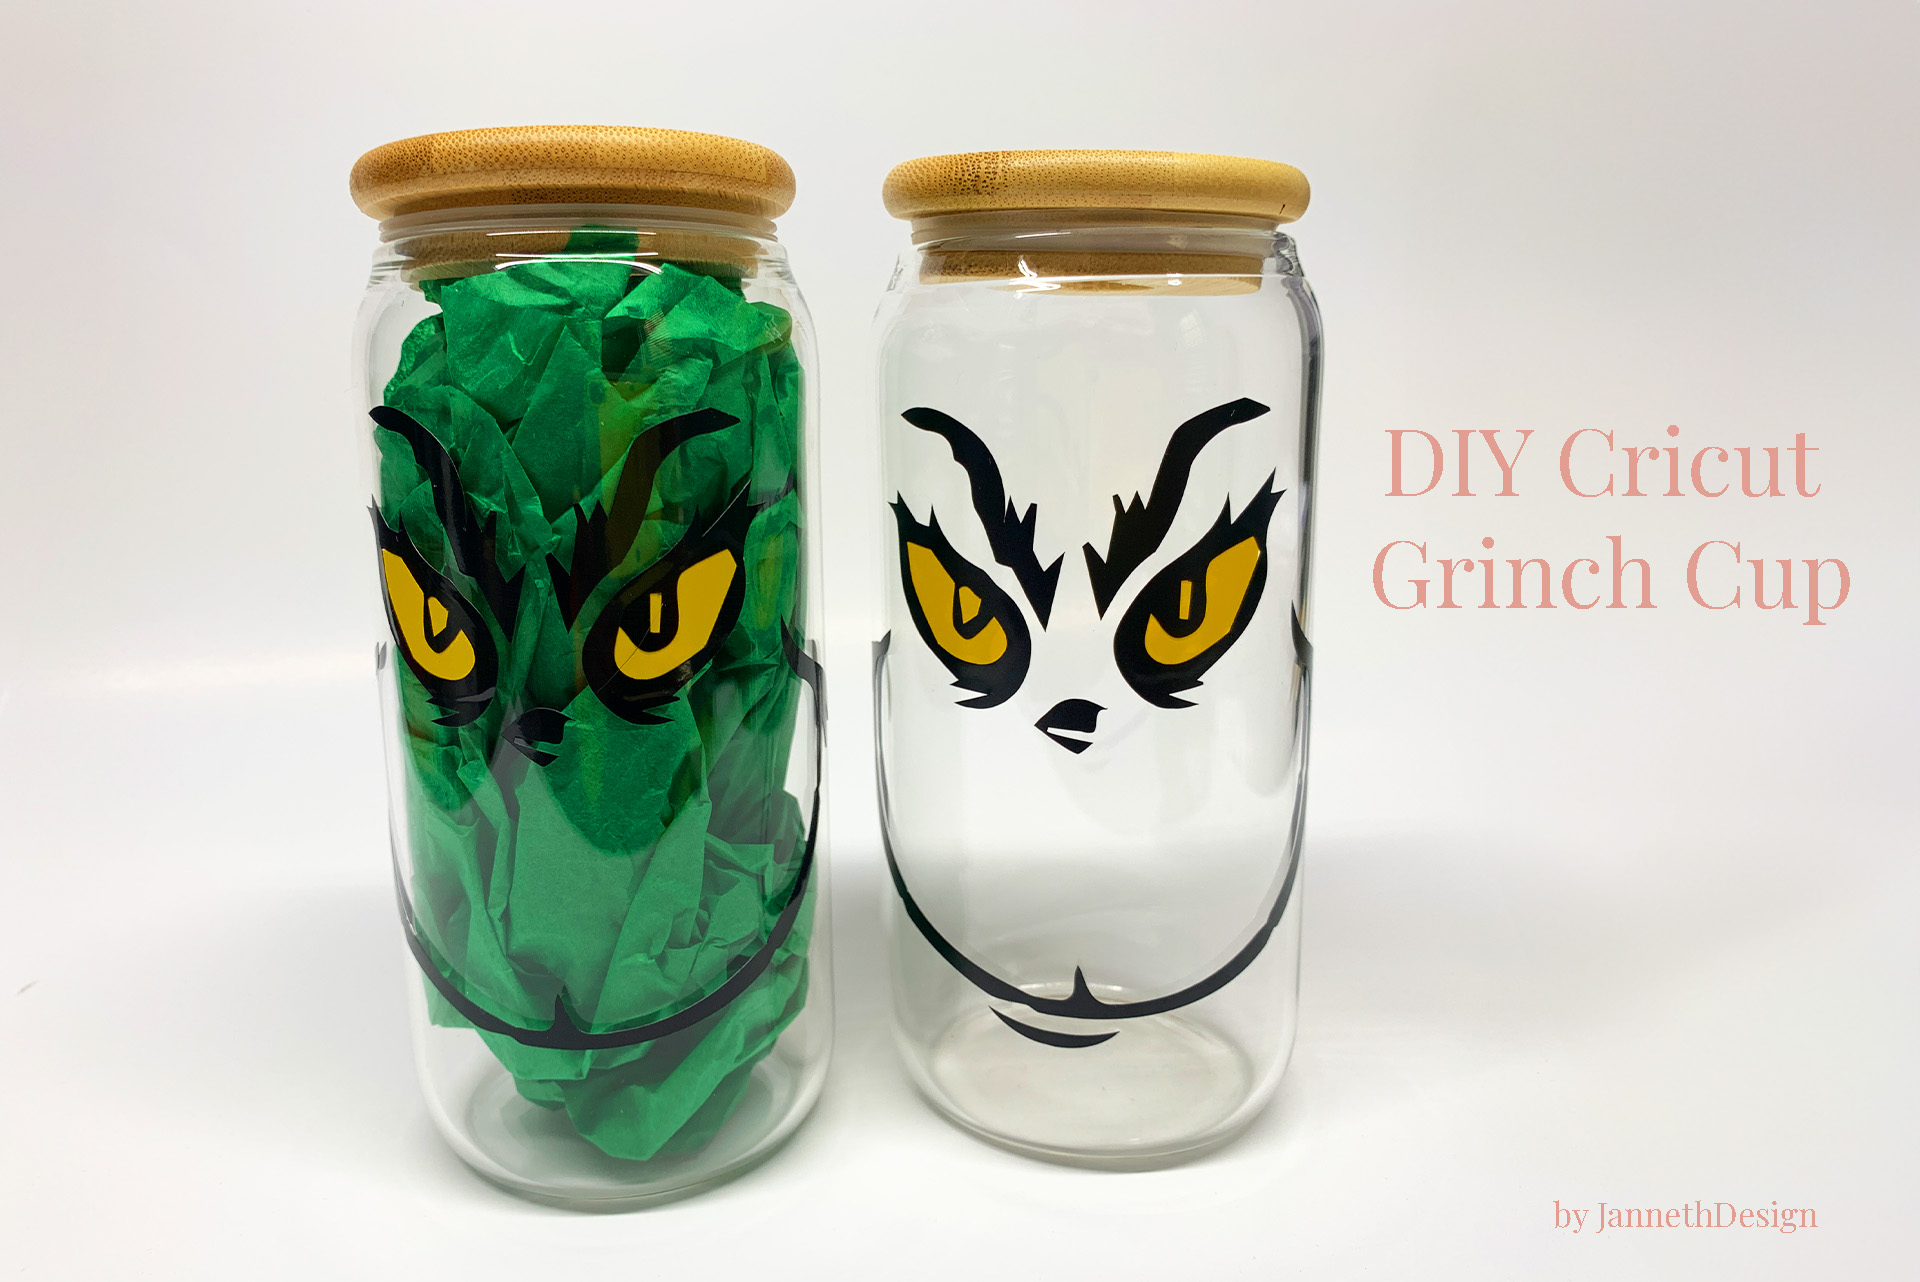
Get ready to add a touch of holiday cheer to your home with a personalized Grinch glass jar! In this step-by-step guide, I’ll walk you through how I used my Cricut machine to bring the mischievous Grinch face to life on a glass jar. With a bit of creativity and the right tools, you can create a whimsical holiday decoration that’s perfect for gifting or as a festive addition to your own decor.
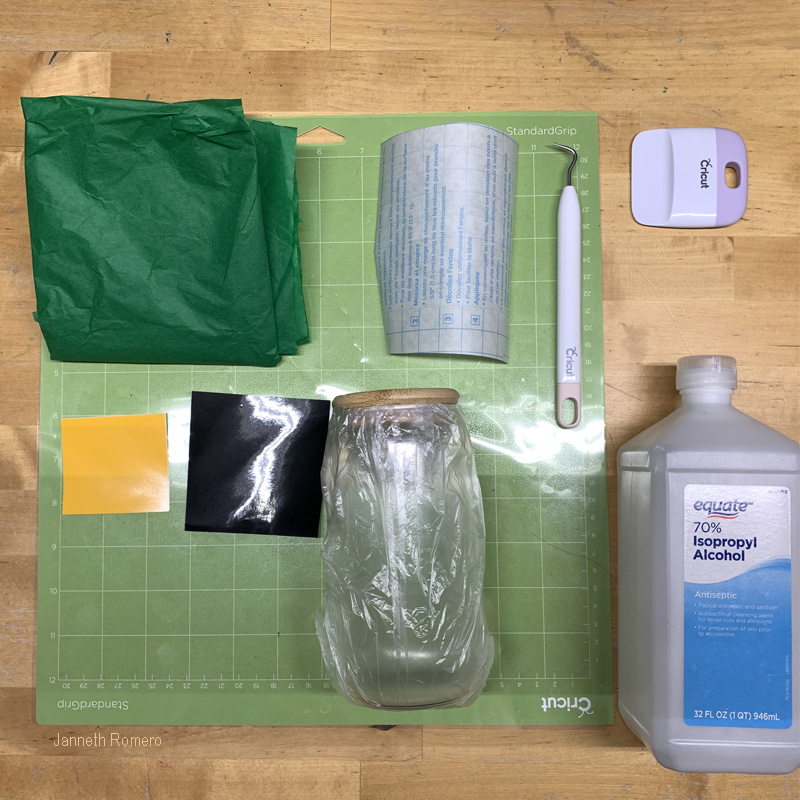
Tool
Cricut machine
Glass Jar
Adhesive vinyl in various colors (black, yellow)
Transfer tape
Weeding tools
Isopropyl Alcohol (clean the glass)
Cricut mat
Grinch face design
Categories
DIY Crafts
Step 1: Designing the Grinch Face
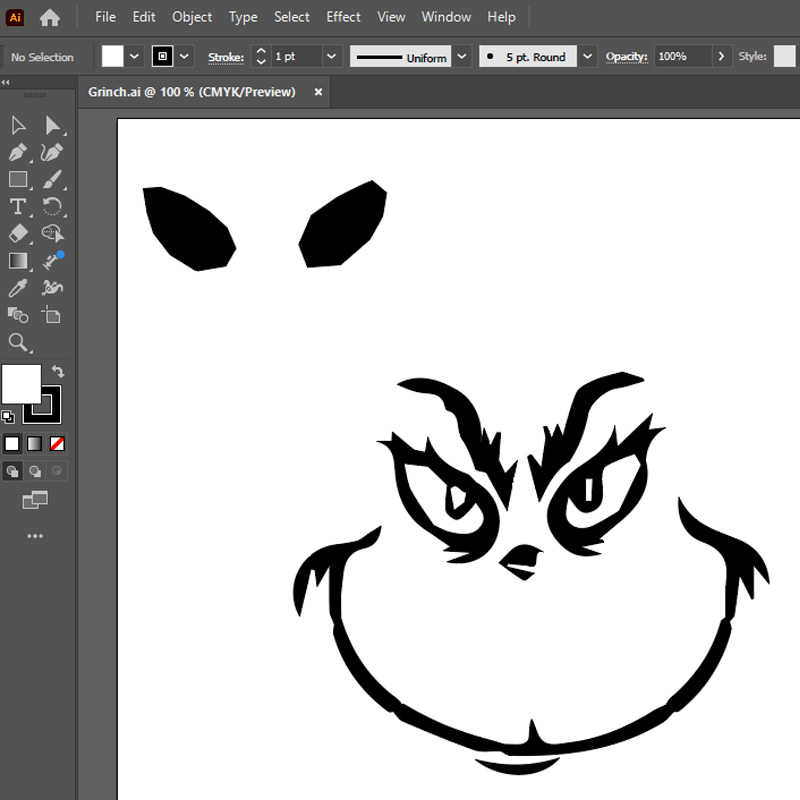
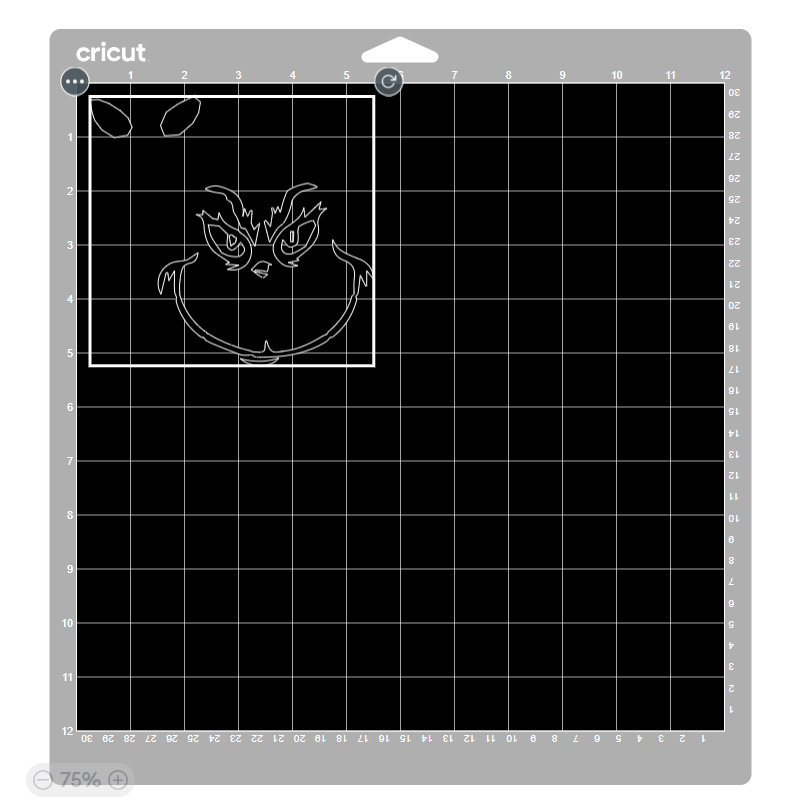
Download the Grinch face design here>>. I used illustrator to create the Grinch and saved it as a SVG file. The eyes will be yellow and the face will be black vinyl. You can change the scale, to make sure your design fits the size of your glass jar.

Step 2: Cutting the Vinyl
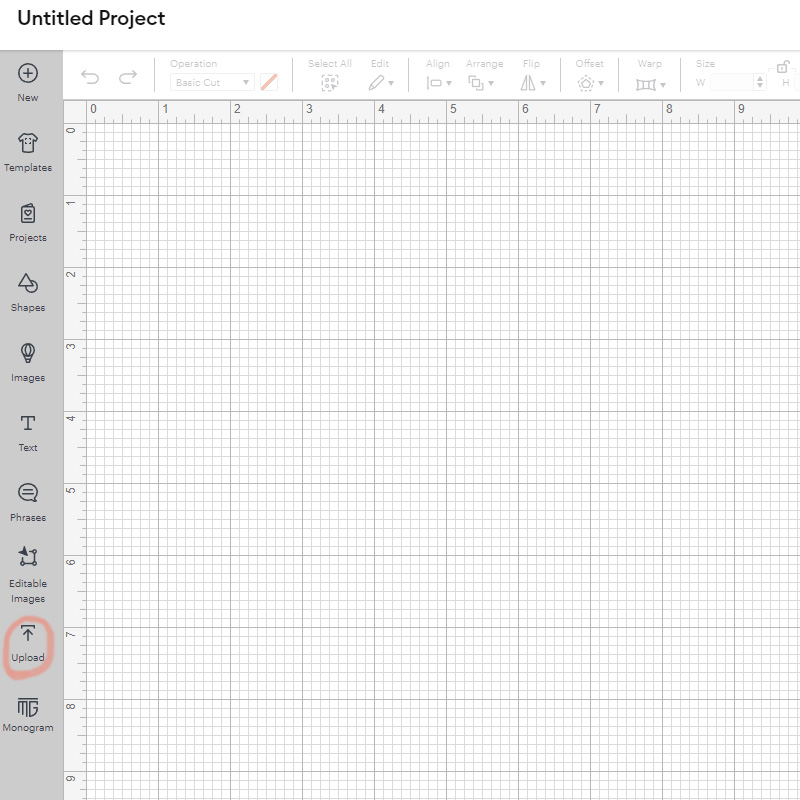
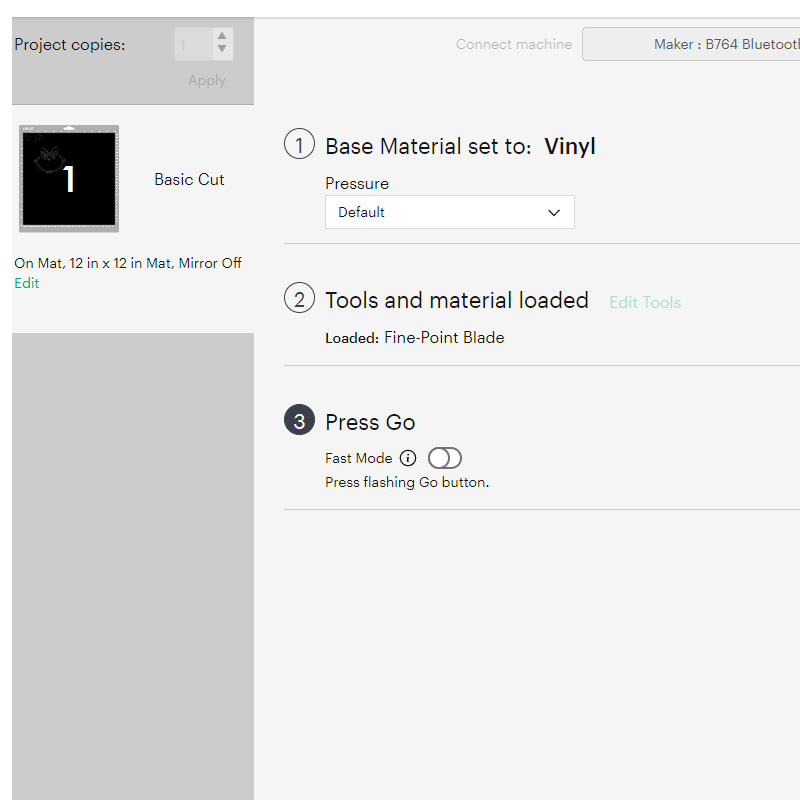
Once your design is ready, upload it to Cricut Design Space. Adjust the size if necessary, and select the appropriate vinyl colors for each part of the Grinch face. Load the vinyl face up ( you see the colors), onto your Cricut mat and let the machine work its magic. Be sure to use the correct settings for vinyl cutting.
Step 3: Weeding the Vinyl
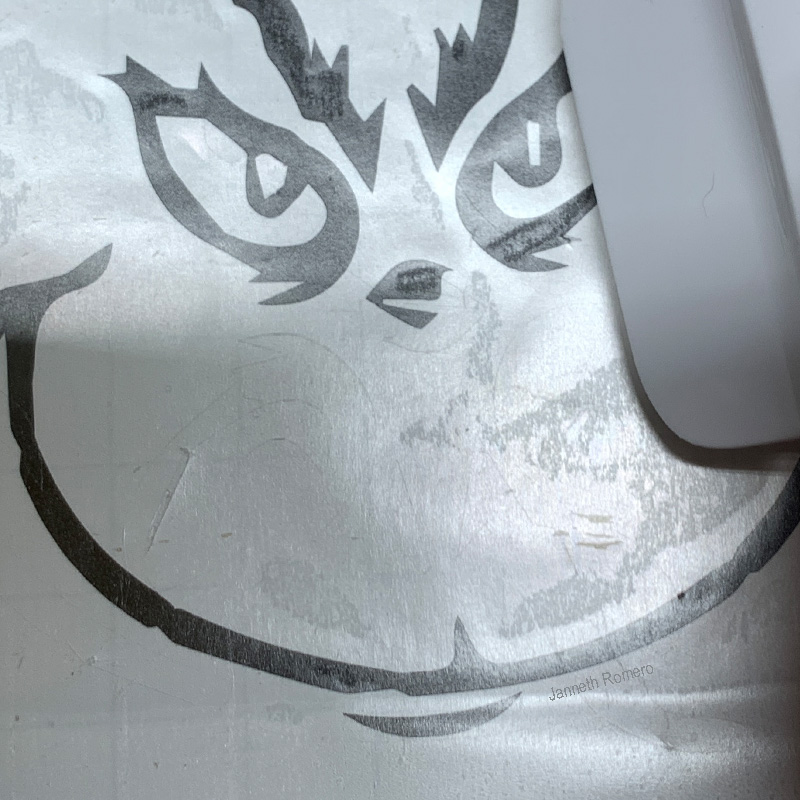
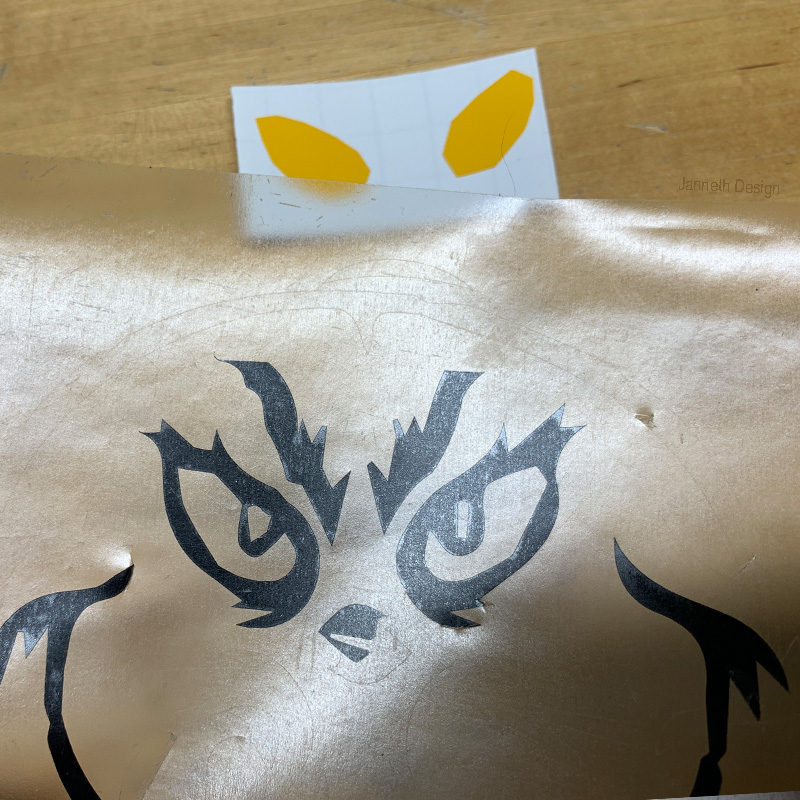
After the Cricut has finished cutting, carefully weed away the excess vinyl using your weeding tools. Take your time to ensure clean and precise cuts, especially around intricate parts like the Grinch’s eyes and mouth.

Step 4: Applying Transfer Tape
Cut a piece of transfer tape slightly larger than your Grinch face design. Carefully apply the transfer tape over the face vinyl piece, smoothing out any bubbles or wrinkles. Press down firmly to ensure the vinyl adheres to the transfer tape. Repeat the process for each the Grinch yellow eyes making sure that they align with they face.
Step 5: Transferring the Design to the Glass Jar
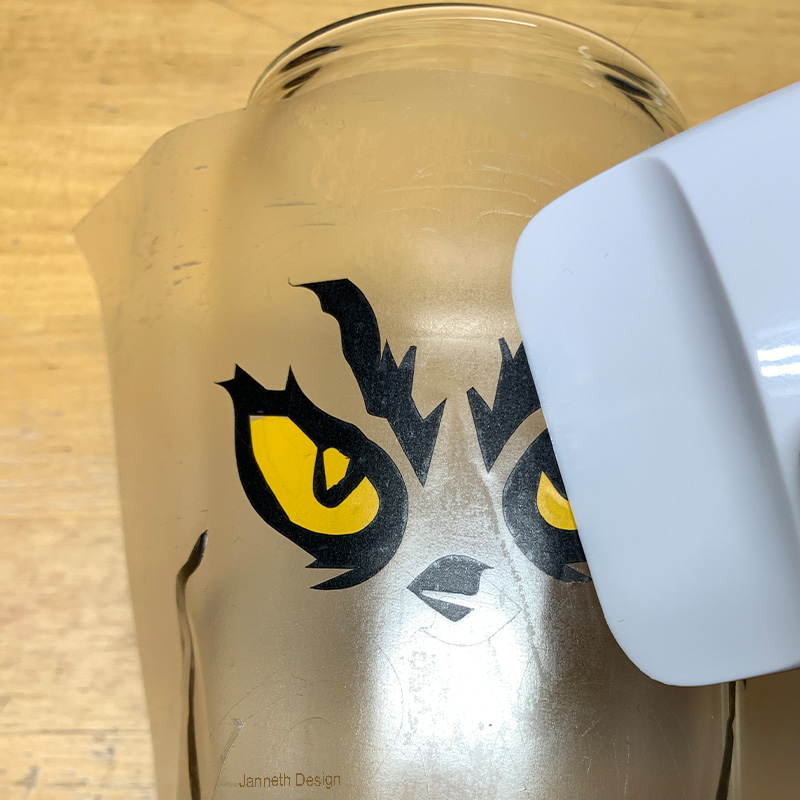
Position the Grinch face on the glass jar, starting with the base layer and working your way up. Use a squeegee or the edge of a credit card to press the vinyl firmly onto the glass. Gently peel away the transfer tape, leaving the vinyl design on the jar.

Step 6: Finishing Touches
Once the entire design is transferred, take a step back and admire your custom Grinch glass jar! Consider adding additional details or personal touches like name if desired. I added a green tissue paper to highlight my grinch’s face.
With just a few materials and your trusty Cricut machine, you’ve transformed a simple glass jar into a festive Grinch masterpiece. Whether you display it on a mantel, use it as a candle holder, or give it as a thoughtful gift, this DIY project is sure to spread holiday joy and capture the mischievous spirit of the Grinch. Happy crafting!

